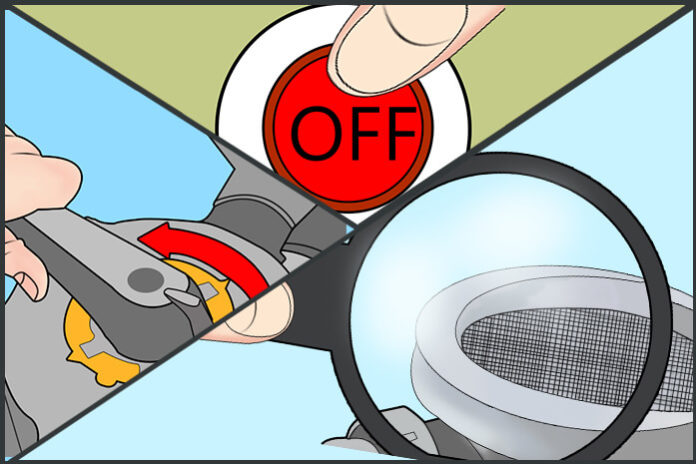
Most of the modern day pool pumps incorporate a self-priming feature. This feature allows the pump to automatically generate internal water flow after being turned on even when there is a significant amount of air trapped within the system. However, there are many pumps out there that you may need to manually prime.
To keep the water in the swimming pool safe and clean, you may need to keep the pool pump in good shape. Too much air can cause significant damage to the pump, and this is where the pump is said to “lose its prime.” Manually priming the pool pump allows you to get rid of the excess air stored within and thus will enable you to keep the pump up and running for a long time.
You can manually prime both basic and non-basic pool pumps. You can find the method of priming basic and non-basic pool pumps listed below.
Priming a basic pool pump
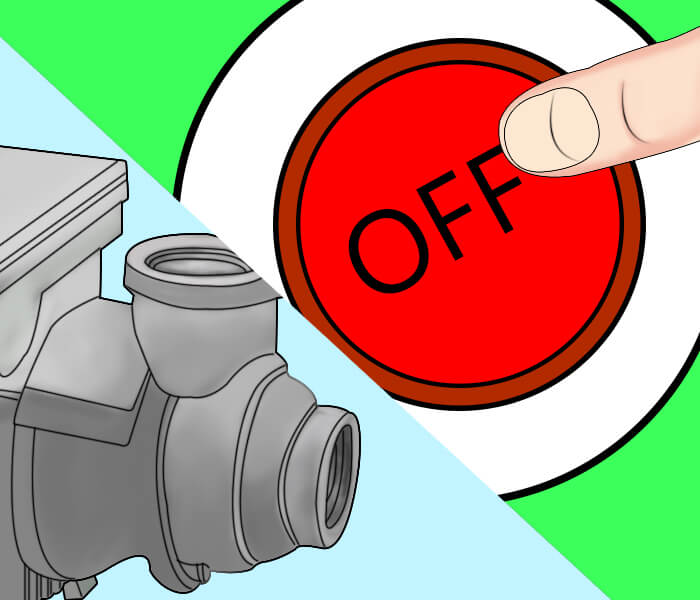
Step 1 Turn off the pump: Turn off the system before working on any pool pumps. It will keep you safe from possible electrocution.
Step 2: Locate the diverter valve which helps you to determine whether the water comes out of the skimmer or from the main drain. Keep note of the position of the diverter and then adjust it in such a way so that water comes out from only one location.
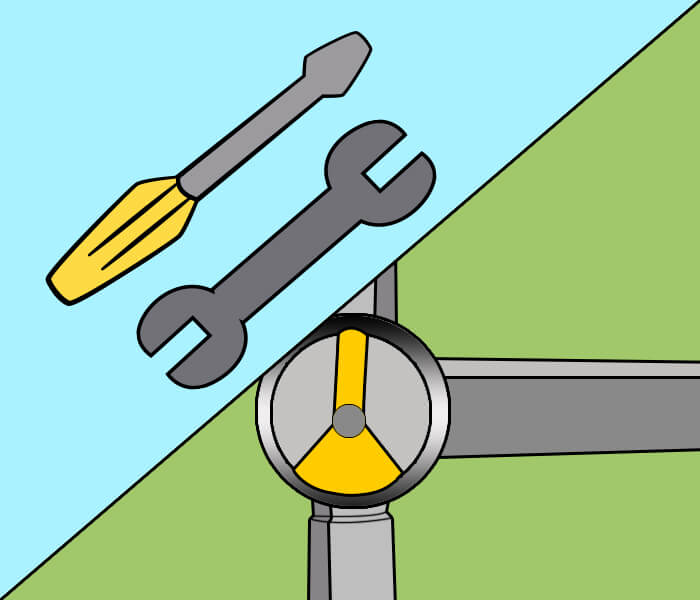
Step 3: Open the air relief valve, which you can find positioned on top of the filter. This step will help to remove any excess air pressure from within the system once the unit has been turned on.
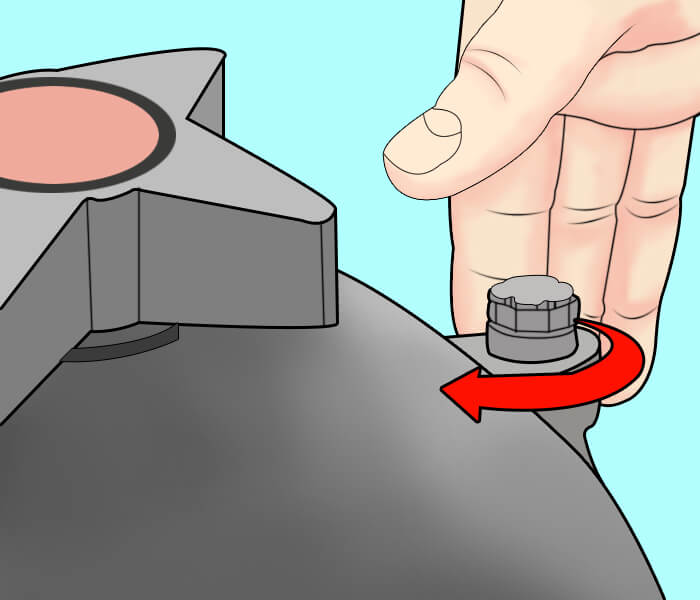
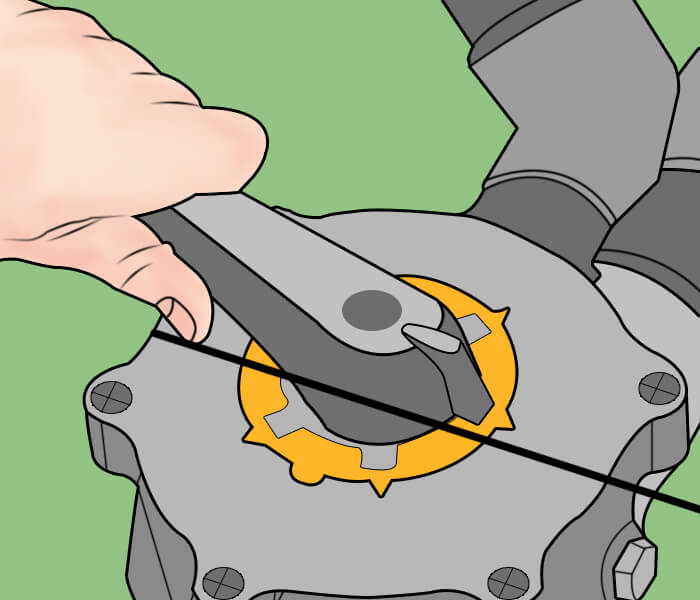
Step 5: Open the lid of the strainer basket. Typically, you will either need to turn the knob counterclockwise or clockwise, depending upon the type of pool basket you have.
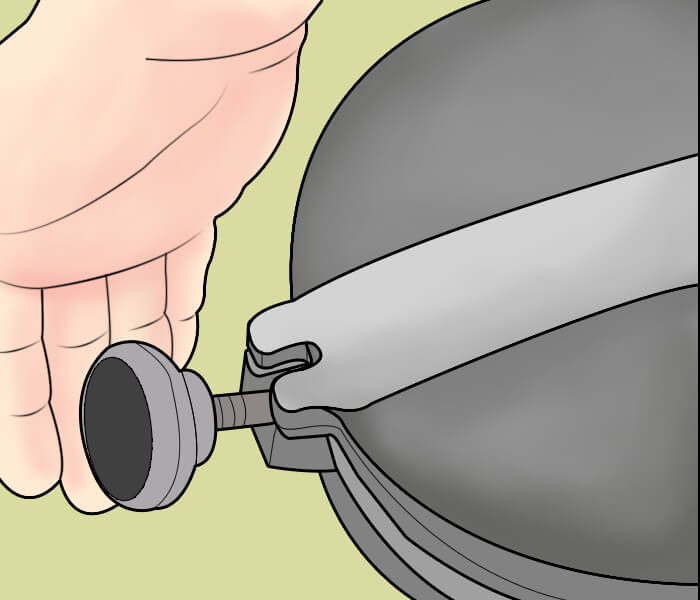
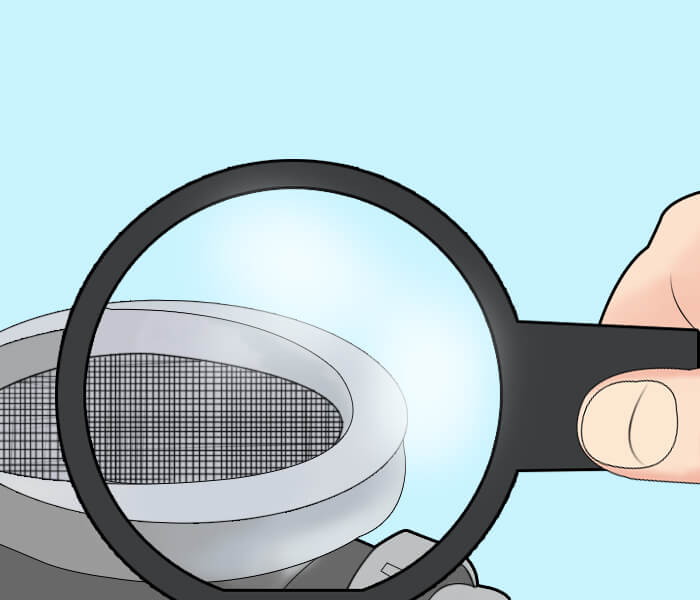
Step 6: Remove the debris from within the strainer basket. If you do not remove the clogged debris from the filter basket, then it may cause hindrance to the water flow. Ensure that the strainer basket does not have any cracks within. Simultaneously also ensure that the O-rings are properly aligned, in good shape and appropriately lubricated.
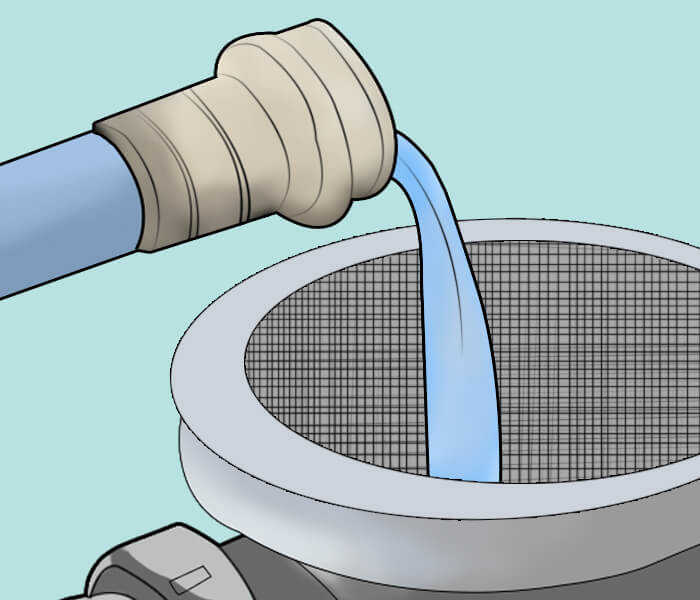
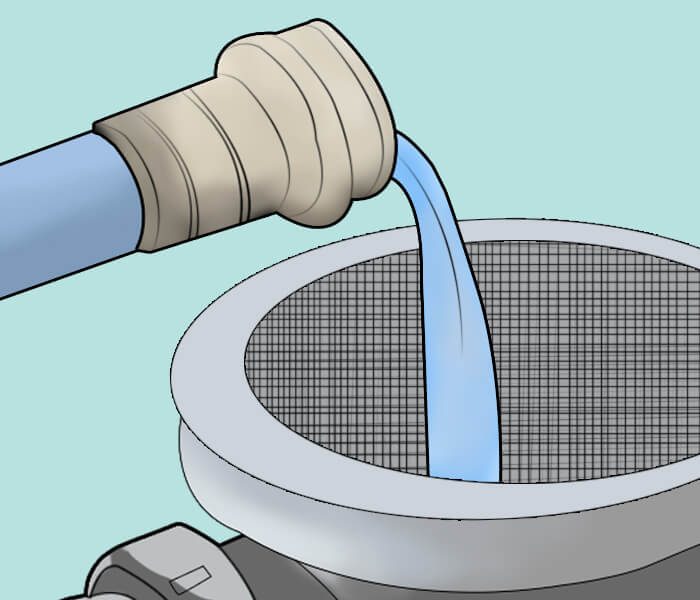
Step 7: Using a garden hose, fill the entire strainer basket with clean water.
Step 8: Once the filter is loaded, replace the lid and ensure that it is tightly screwed on to the unit.
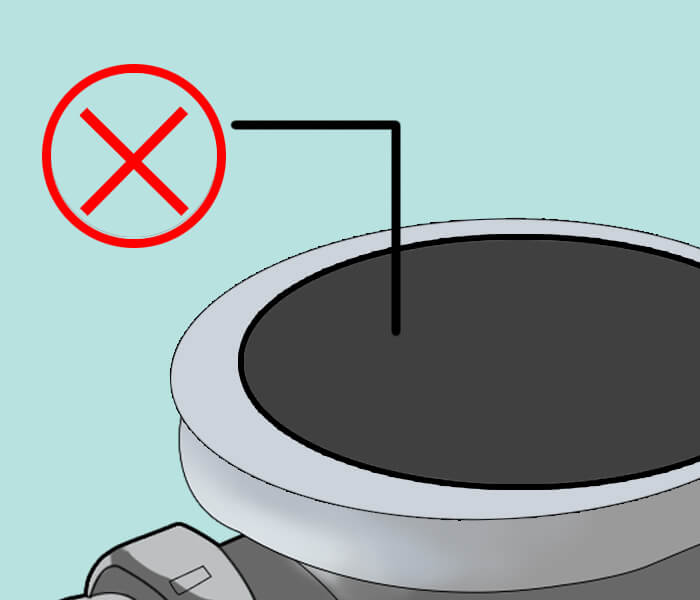
Step 9: Ensure that the air relief valve is open and that the pump lid is adequately secured.
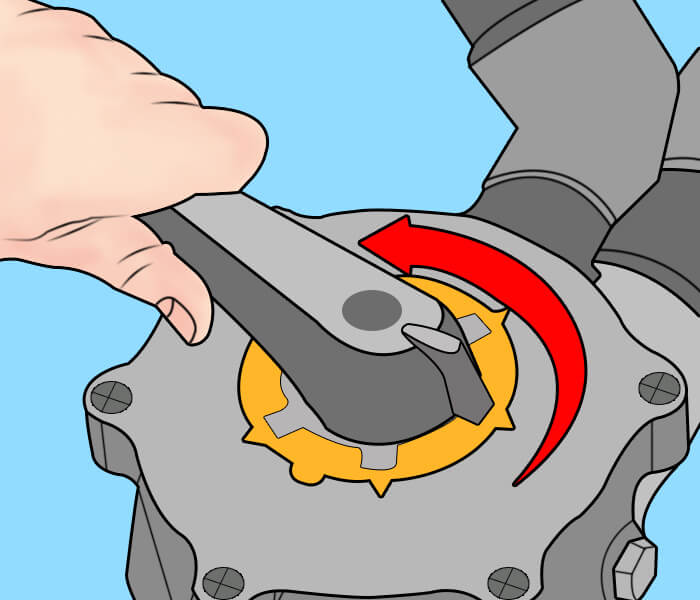
Step 10: After that, turn on the system.
Step 11: Check the water flow within the pump basket.
- If the flow isn’t consistent for the next forty seconds to a minute, turn off the system.
- Repeat all of the steps that have been mentioned above.
- If the problem persists despite repeating the steps, probably there is an issue with a leakage within the pump strainer basket.
- Check the O-ring, housing of the case and lids to ensure that they are functioning correctly.
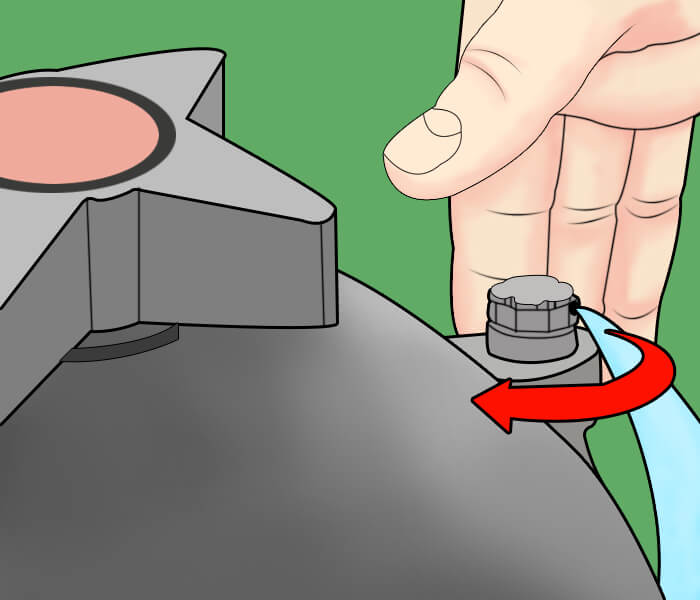
Step 12: When the water starts flowing consistently, you should hear the sound of air flowing out of the system from the relief valve.
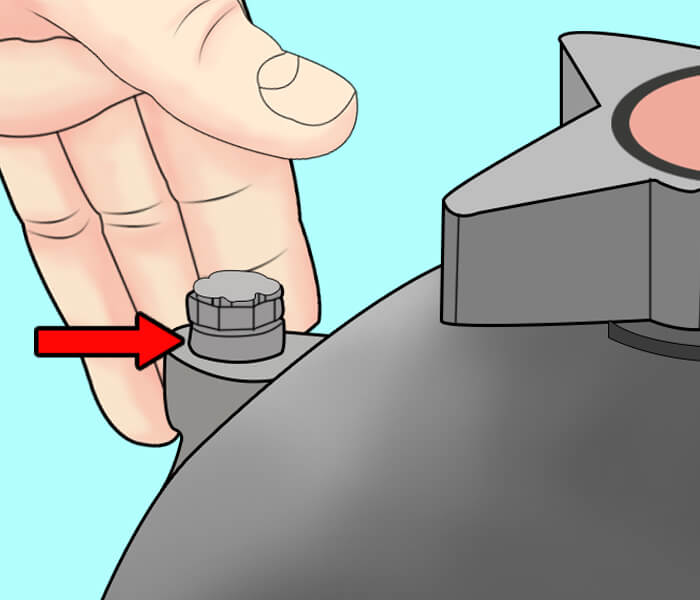
Step 13: Now, close the lid when the water flow has been consistent for a while, typically about one and a half minute.
Step 14: Return the diverter handle back to its original position. Perform the task slowly and gently. Otherwise, the diverter handle may accidentally snap.
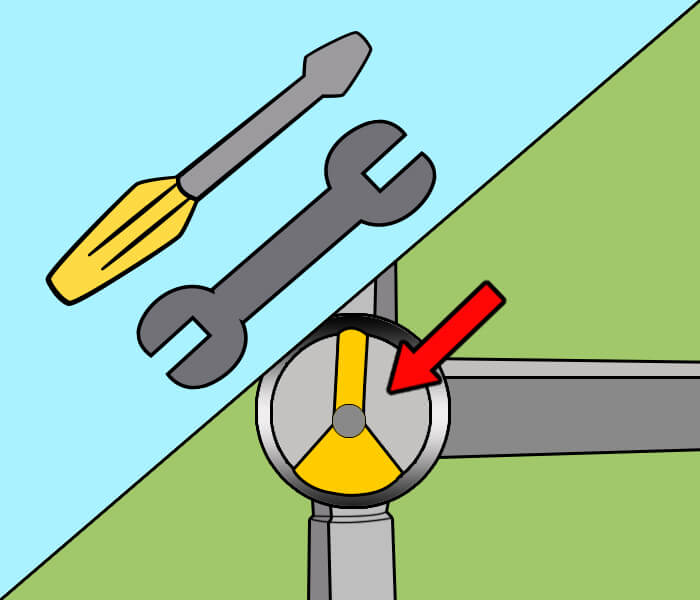
Step 15: Open the air relief valve again to ensure that all of the air has escaped from the pipe.
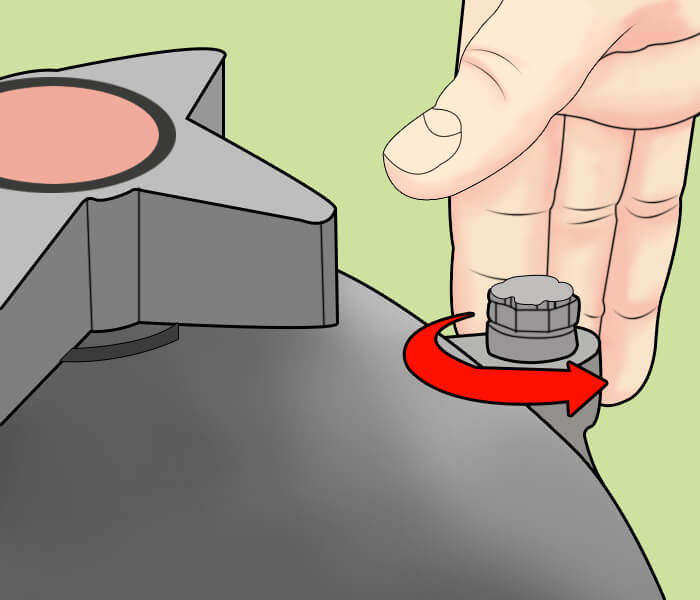
Step 16: Close the air relief valve entirely and turn off the entire pump system.

Step 17: Turn the pump off once again if the problem persists.
Step 18: Reset the valve filtration preference to the multiport value setting.
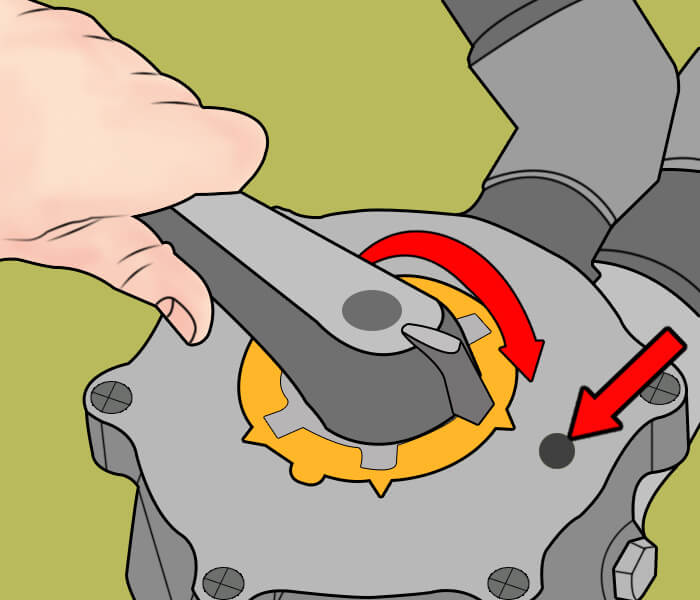
Step 19: Now, turn it on again. It should start working as good as new.
Priming a non-basic pool pump
Step 1: Turn off the power to the pump before working on the unit.
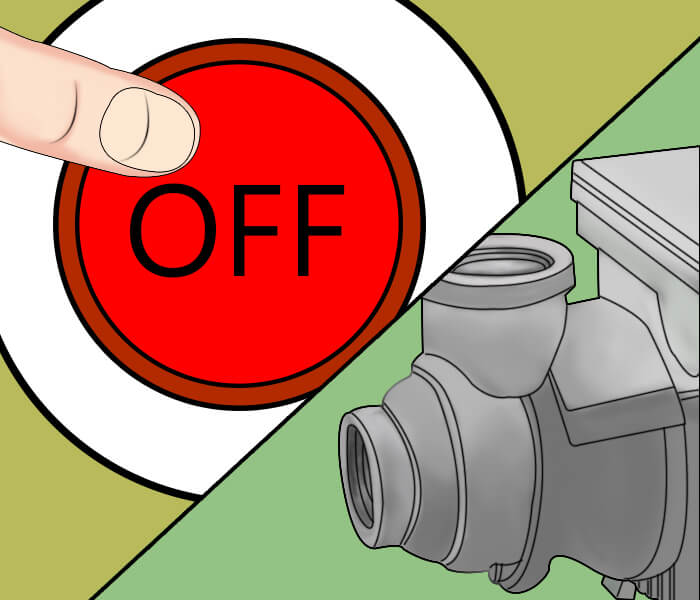
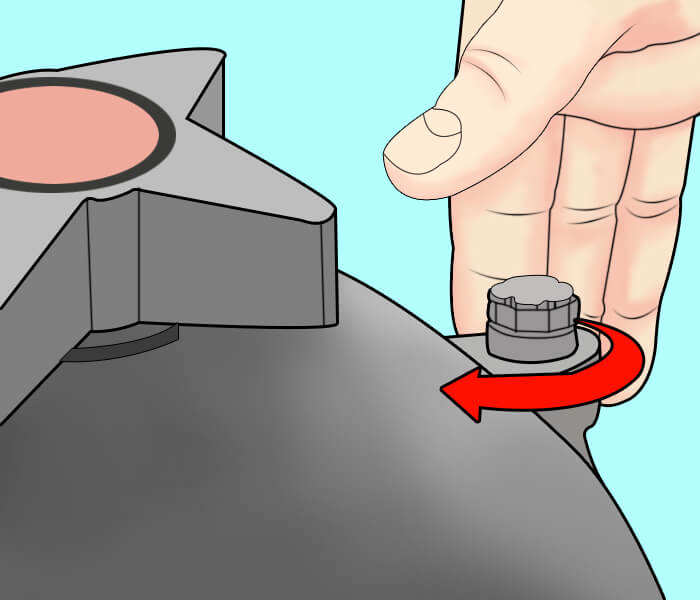
Step 2: Relieve the air pressure from the pump. This process requires you to turn the valve on top of the pool filter in a counter-clockwise motion. The gauge should give you a reading of 0 psi.
Step 3: Leave the valve of the filter open for the while. Ensure that you close all of the other suction valves on the system.
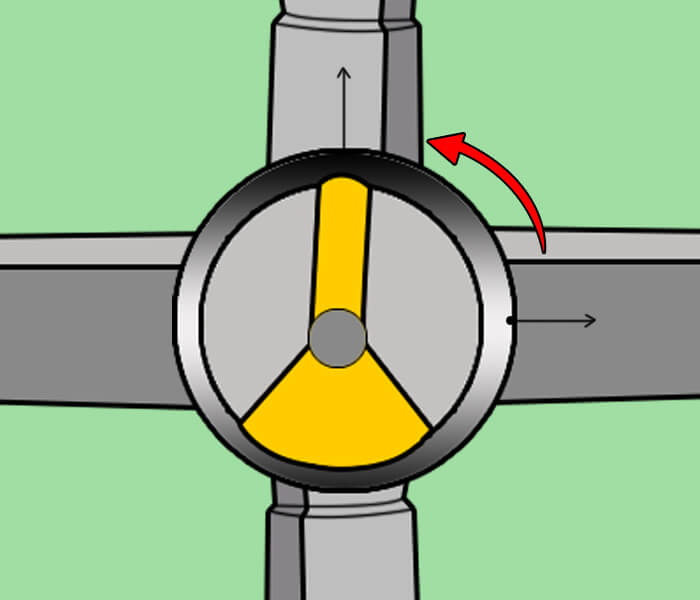
Step 4: There are typically two other suction valves present, one on the main drain and the other on the skimmer.
- Open the lid of the strainer box by either turning the knob or by unscrewing the entire top. Based on the type of strainer box you have, you may need to either open the latch in a counter-clockwise motion or maybe extract using a screwdriver.
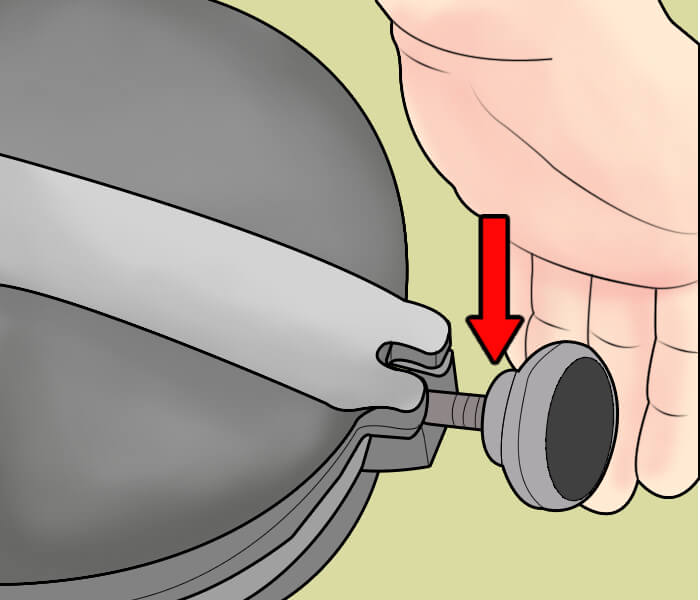
Step 5: Check the strainer basket for the presence of debris within. Clean the filter basket by taking it out of the box in case you see any debris within it. Replace the filter basket in the strainer box after you have cleaned it.
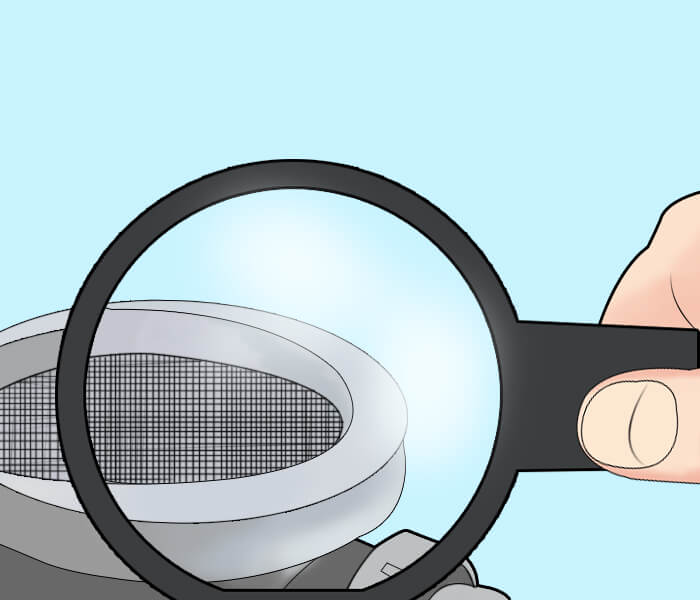
Step 7: Ensure that the strainer basket does not have any cracks or leaks within. Simultaneously also ensure that the O-rings are properly aligned, in good shape and appropriately lubricated. Fill the filter entirely with water after you clean it properly.
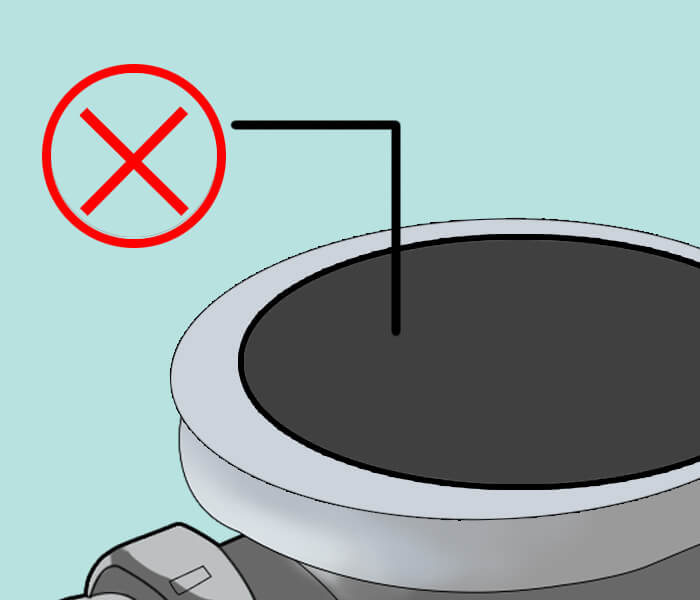
Step 8: Ensure that the lid is properly placed on the basket and screwed on tightly.
Step 9: Ensure that the multiport valve—the valve controls water to return to the pool—is fully open or in the “recirculate” setting. It disengages the filtration system from the circuitry, allowing the water to flow through the pump without distraction.
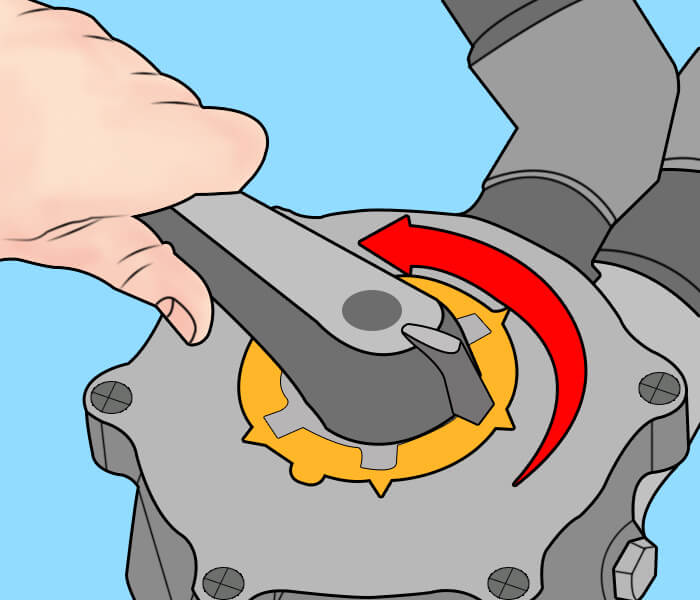
Step 10: Make sure that the multiport valve is completely open. This valve controls the flow of water return to the pool. In some units, it may be restored to “recirculate” setting. This step extricates the filtration system from the primary circuit, which in turn allows the water to flow freely through the pump. Turn on the pool pump.
Step 11: Check the water flow within the pump basket.
- If the flow isn’t consistent for the next forty seconds to a minute, turn off the system.
- Repeat all of the steps that have been mentioned above.
- If the problem persists despite repeating the steps, probably there is an issue with a leakage within the pump strainer basket.
- Check the O-ring, housing of the case and lids to ensure that they are functioning correctly.
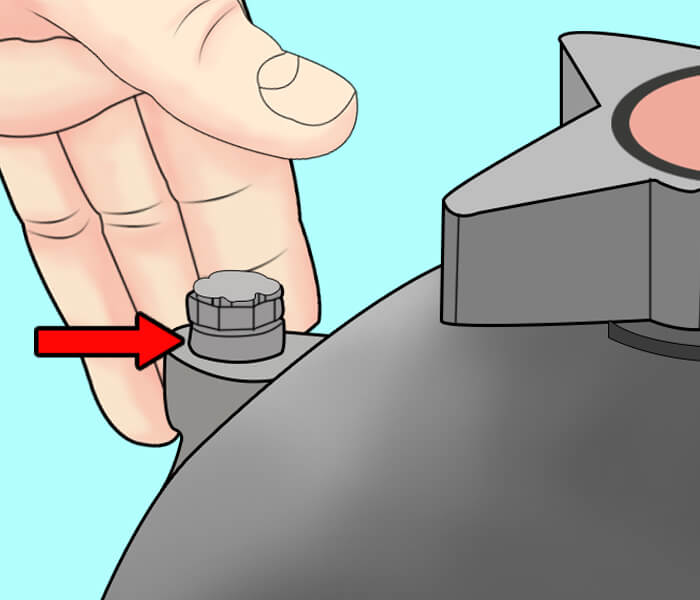
Step 11: Close the valve properly once the water starts to spray.
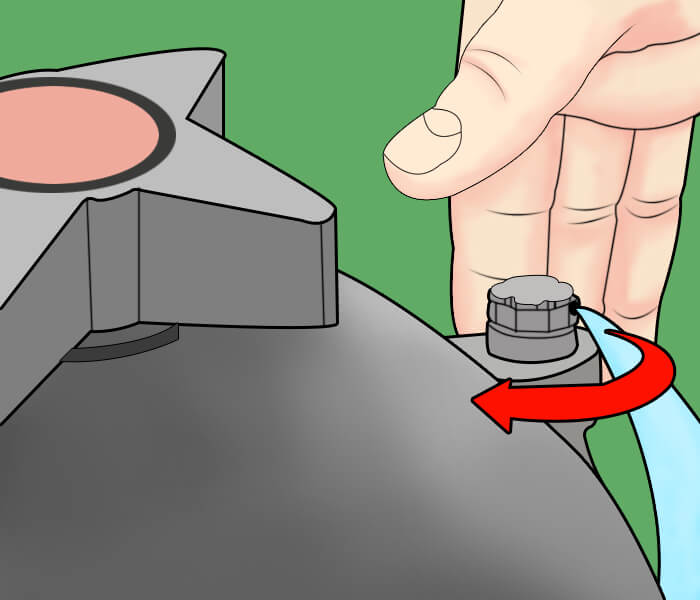
Step 12: Open any one of your suction valves. It is recommended that you open the main drain suction valve.
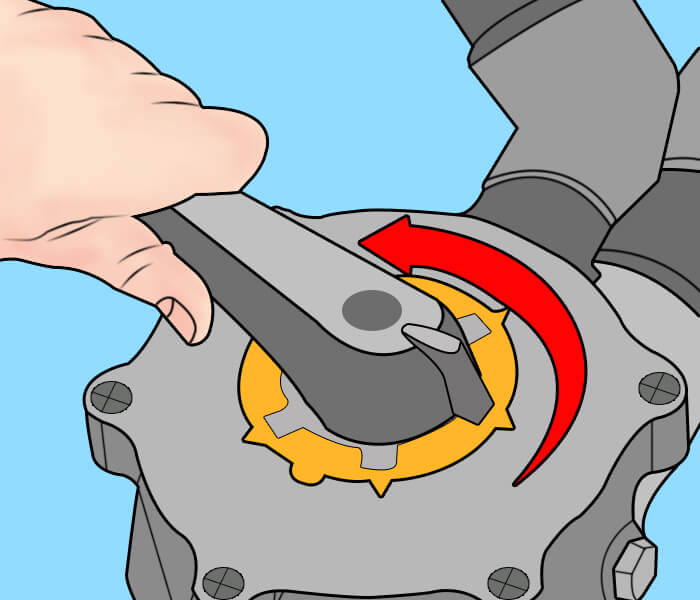
Step 13: Open the air relief valve once again.
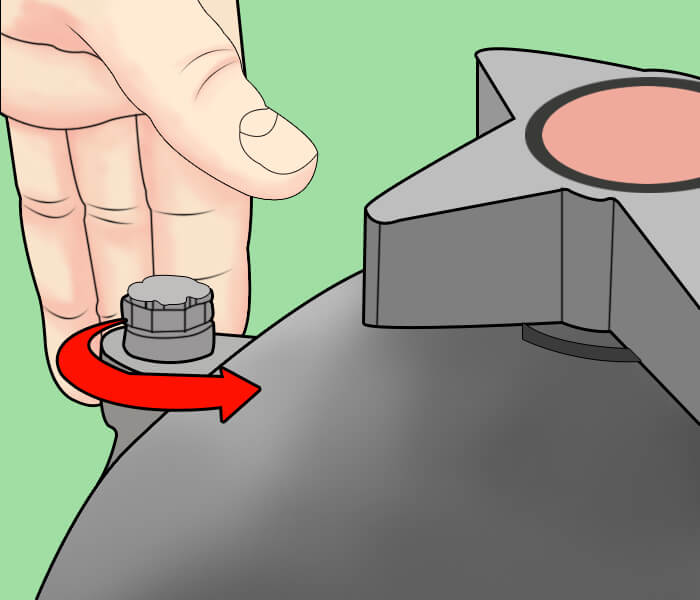
Step 14: Any air which is formed from the newly opened circuit should escape, and then water should start spraying.
- Repeat the steps if the water does not start spraying.
- Close the air valve once the water has started to spray.
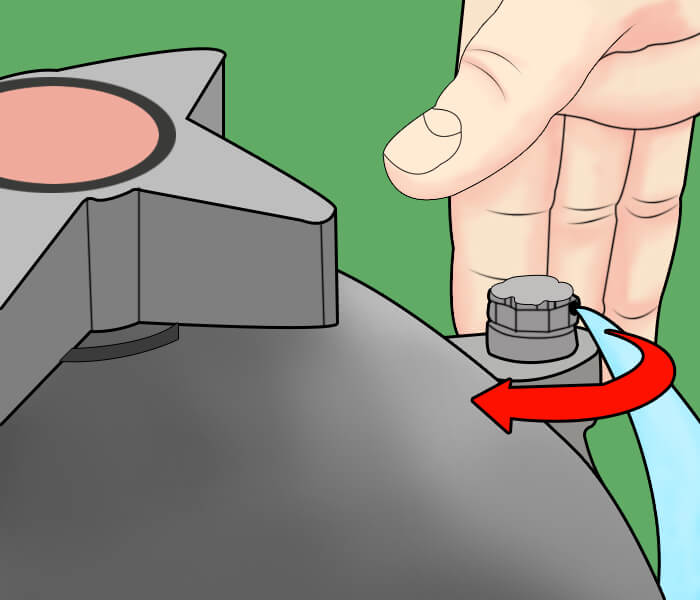
Step 15: Repeat the same steps for the other suction valve as well.
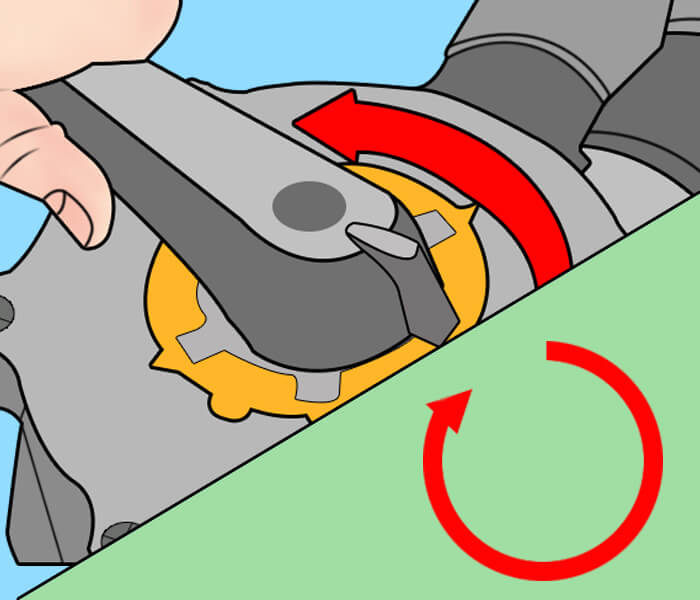
Step 16: Turn the pump completely off again.
Step 17: Return the multiport valve to its filtration setting. The filtration setting should be its original setting.
Step 18: Turn on the pump again. Bleed air from the filter once water circulation has been restored.
Final Thoughts
Make sure that you have all the required components for performing this task efficiently. You should equip yourself with an accurate pressure gauge, garden hose or a bucket, diverter valve, etc. After adequately following the above steps, you can efficiently prime your pool pump on your own.


